5-Minute Cardmaking Trick: Embossed Borders!
There are lots of ways to complete the look of your cards. Making your card design more unique can be as simple as adding a border!
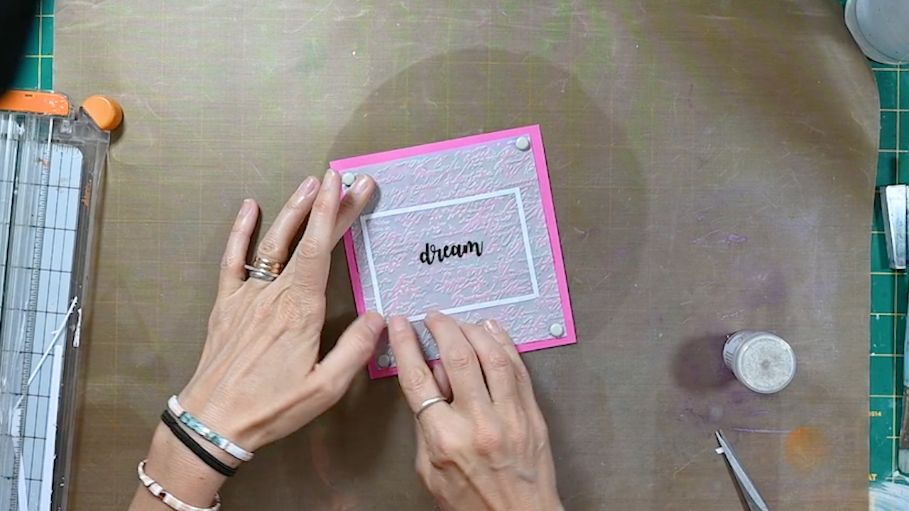
For this cardmaking tip, I'll show you how to create a gorgeous embossed border for your cards in just under five minutes! All you need are some double sided tape and embossing powder!
Watch the Video Tutorial:
Read the Step-by-Step Guide Below:
Step 1
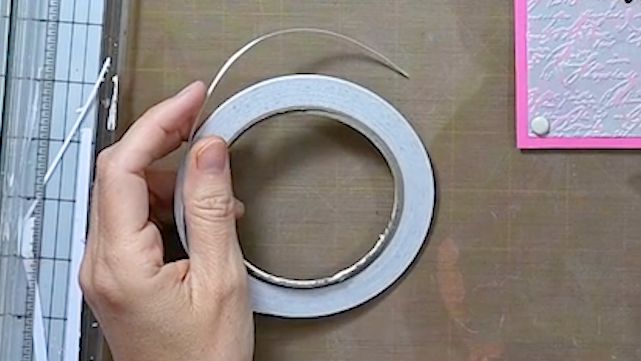
The first thing you'll do is get a thin double sided tape. You can use something slightly thicker than what I have here, but having it very nice and thin is ideal.
If you don't have one this thin, you can just split your regular-sized tape in half with a scissor.
Step 2
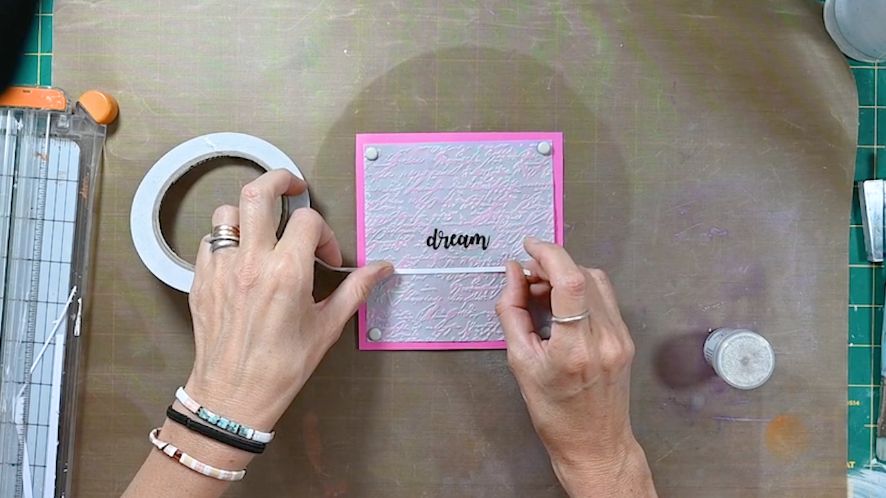
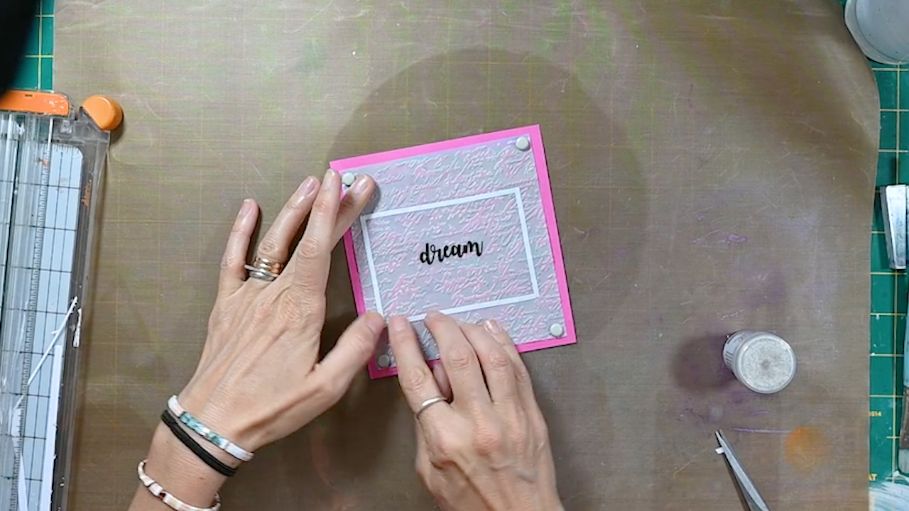
Now, I have my card here which is almost finished. I just carefully started placing my double sided tape around my sentiment to form a rectangle shape. Press it hard into the card to ensure that it is stuck down.
Don't rush it! Make sure you align it straight so it won't appear wonky.
Step 3
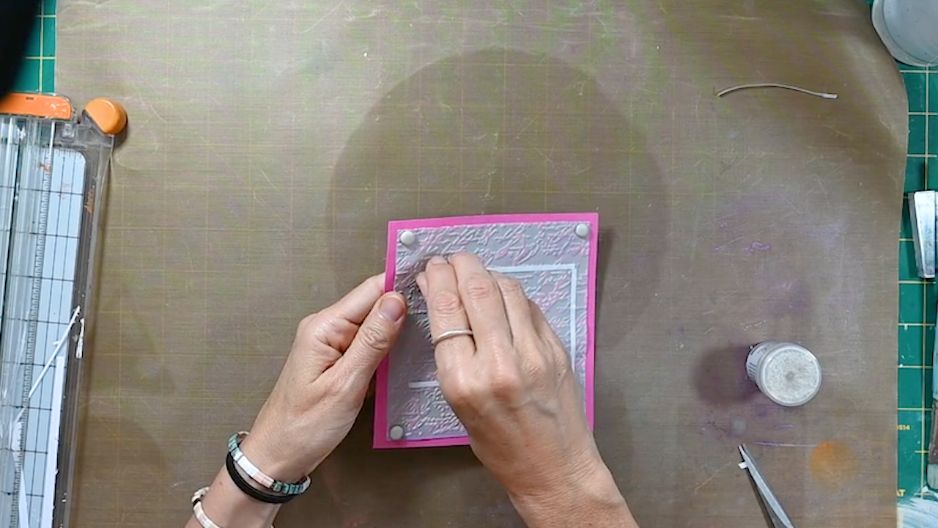
Once you complete your box shape with your tape, you can start removing the top white part to expose the adhesive.
Step 4
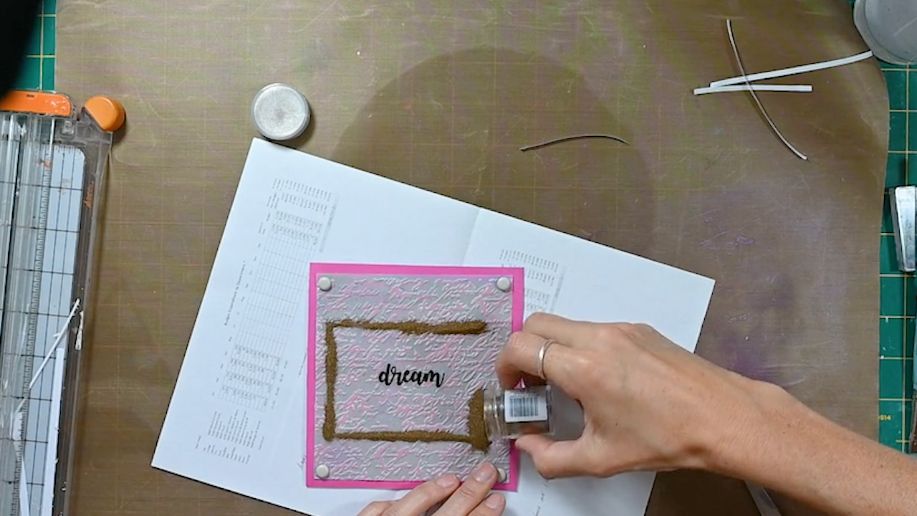
And now the fun part! Let's start embossing! I'm using a gold embossing powder for this one. Just sprinkle some powder on top of the adhesive. Make sure you cover everything to fill the box shape.
Step 5
Remove the excess powder and dry with a heat tool.
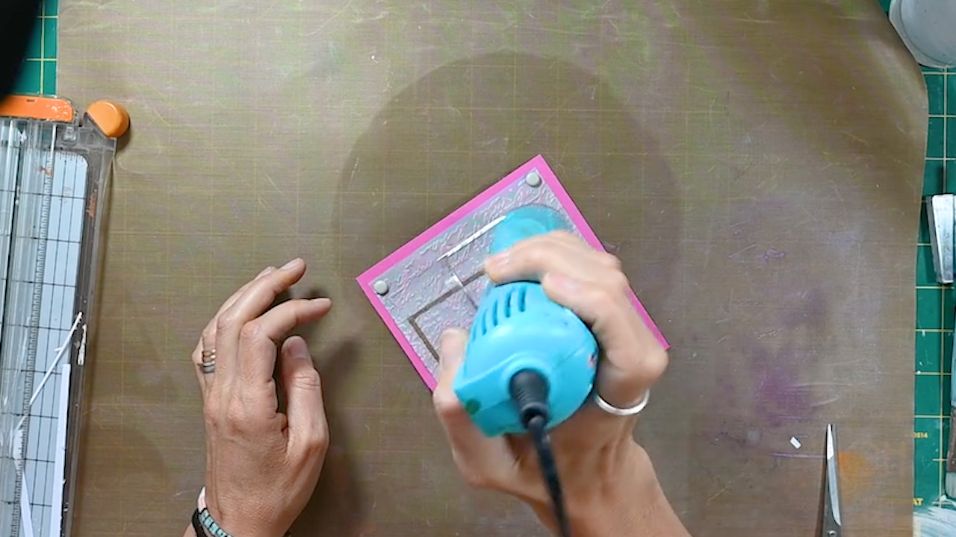
Once completely dry, you'll be left with this beautiful and shiny embossed border!
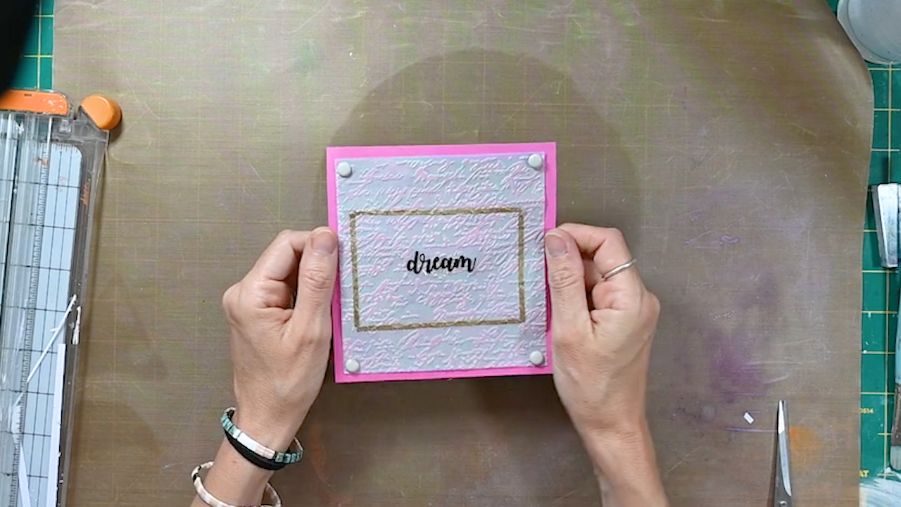
It's so easy and simple to do but it can make such a big difference to the design of your card!
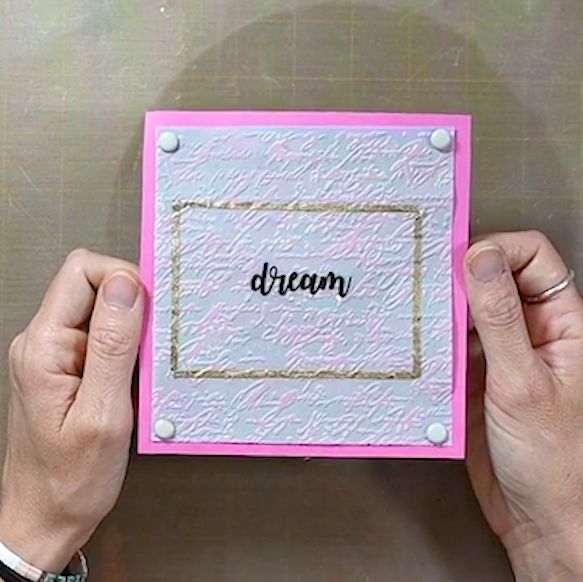
Stay tuned for more upcoming inspiring and creative tips!
Happy cardmaking!
