Quick and Simple Cardmaking Splatter Technique
Adding designs is a great way to transform your card from ordinary to exceptional!
In today's tip, I'm going to show you how to make a perfect splatter design for your cards the quick and simple way!
Watch the Video Tutorial:
Read the Step-by-Step Guide Below:
Step 1
All you need are inks (acrylic or pigmented), two card stocks of different colors, sentiment of your choice, glue, and paper cutter.
Let start inking!
Step 2
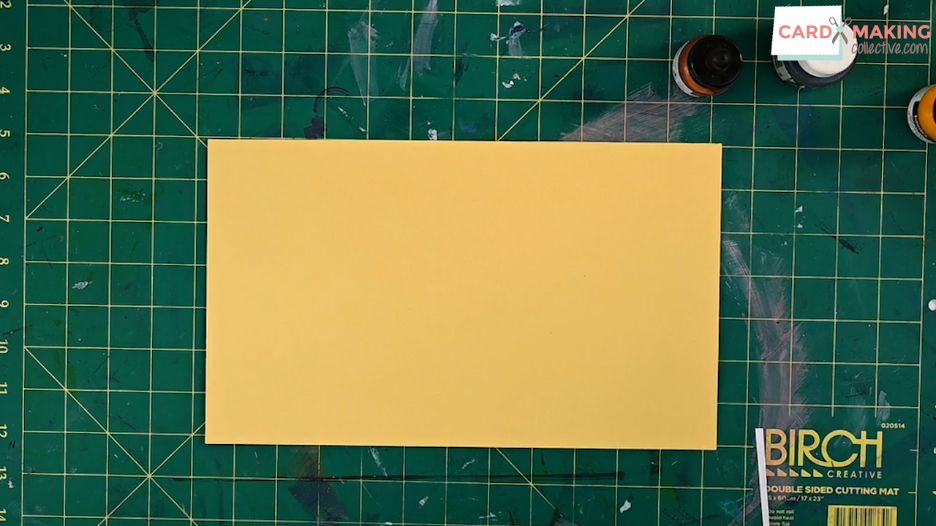
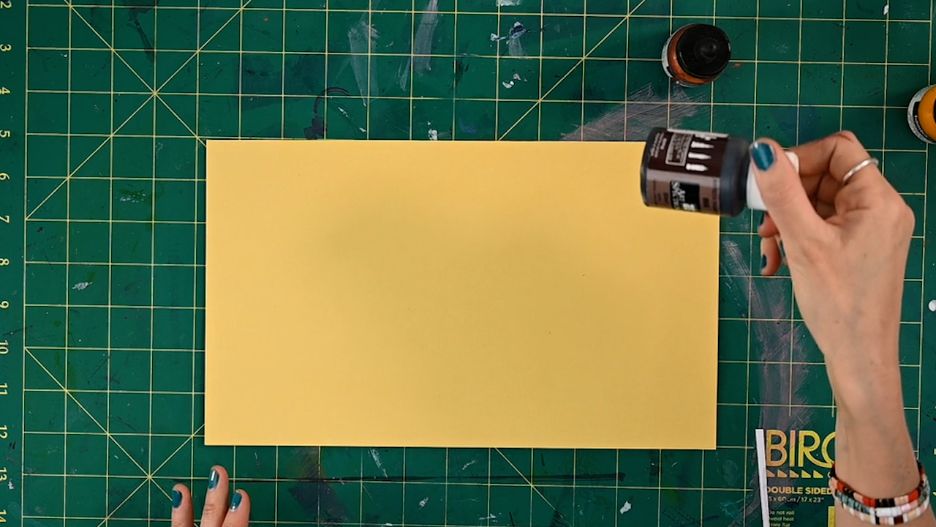
Get your card stock and your preferred ink.
As for me, I got a yellow card stock that's quite big in size and two types of inks (pigmented and acrylic) because I plan on choosing which of the two inks would work well with my canvas.
It's like I am testing the waters on which would create a better outcome on my canvas.
You can also do the same, or you can combine both. Whatever works best for you.
Step 3
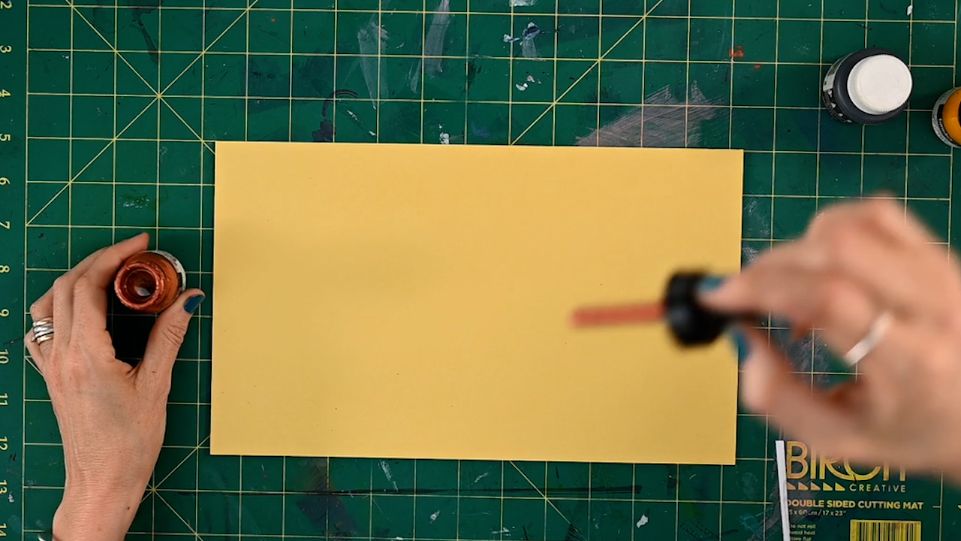
To create the splatter effect, all you need to do is to lift your bottle really high and release a few splotches as seen below.
For my first splatter, I chose the acrylic ink. However, I felt like it has somehow dried out and is a bit clumped.
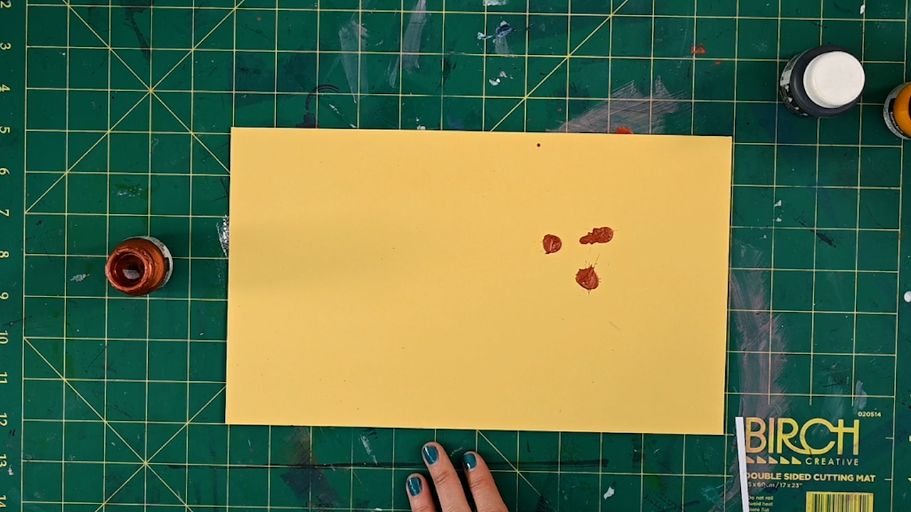
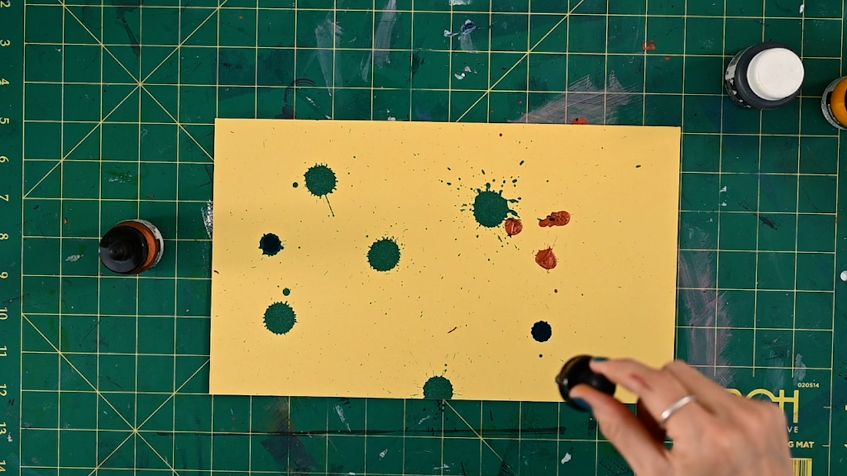
So I moved on to my second ink (pigmented) and repeated the procedure.
Just a tip: always remember that the higher you go, the bigger the splatter... and the lower you go, the smaller it will get. It would be nice if you'll have a combination of both.
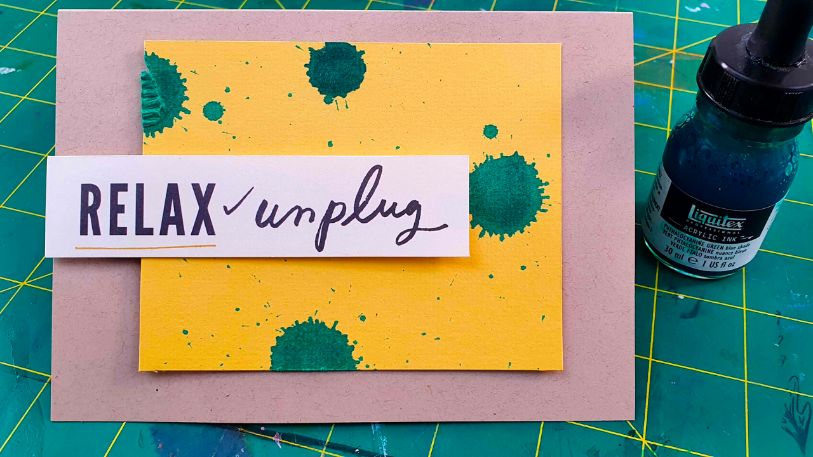
Look how fabulous it has come out! I love the effect that it has created! Green and yellow look good together, right?
Step 4
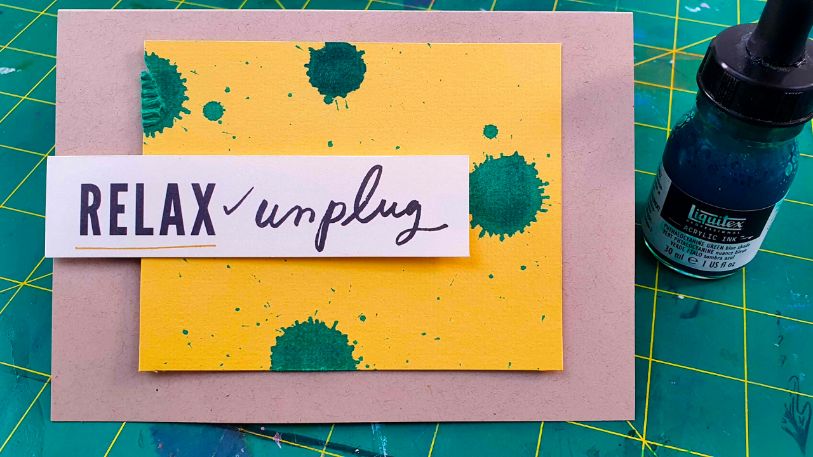
Once you are done with your design, trim off your first card stock, stick it on your second one and adhere a sentiment.
As for me, I chose a brown card stock that would make my design pop even more!
I also added the sentiment: Relax ✔ unplug...a perfect reminder for anyone to unwind and take a breather every now and then.
Isn't this a fun and amusing technique? You can also experiment and try to incorporate ink splatters into your gift wrappers as well! 😉
I hope you enjoyed this wonderful card making tip! Stay tuned for more upcoming inspiring and creative tips!
