Create a Fantastic Silhouette Effect on Your Cards with Stamps!
Stamps are a must-have for every scrapbooker's stash! It allows you to explore many amazing design ideas.
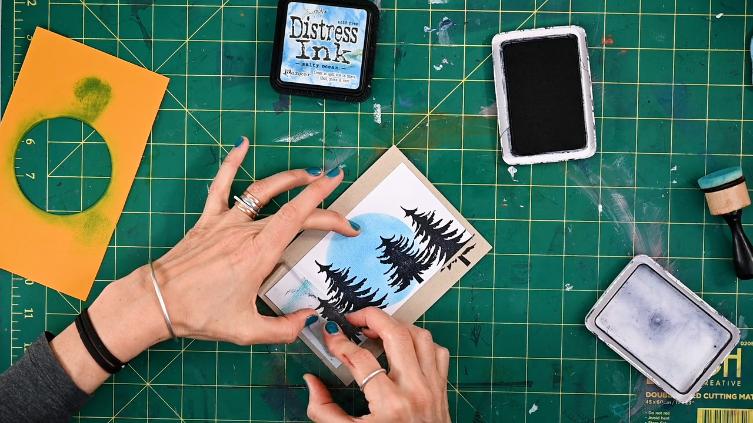
For today's tip, I'm going to share with you a quick way to create a silhouette scene on your card using your collection of stamps! ✨
Watch the Video Tutorial:
Read the Step-by-Step Guide Below:
Step 1
The things that you'll need are: a stamp set of your choice, circle stencil, Distress ink, white paper, black marker, and card stock.
Let's get stamping!
Step 2
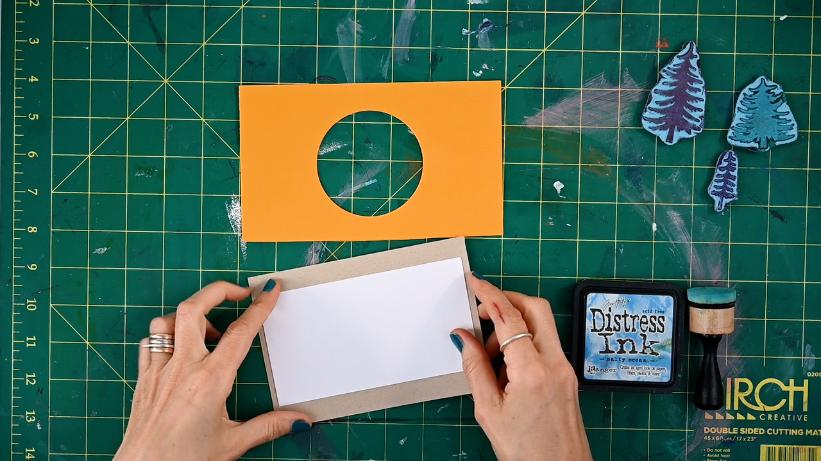
Start off by cutting a circle on paper using a die cut. With a die cut, you'll be able to effortlessly create a perfect circle cutout.
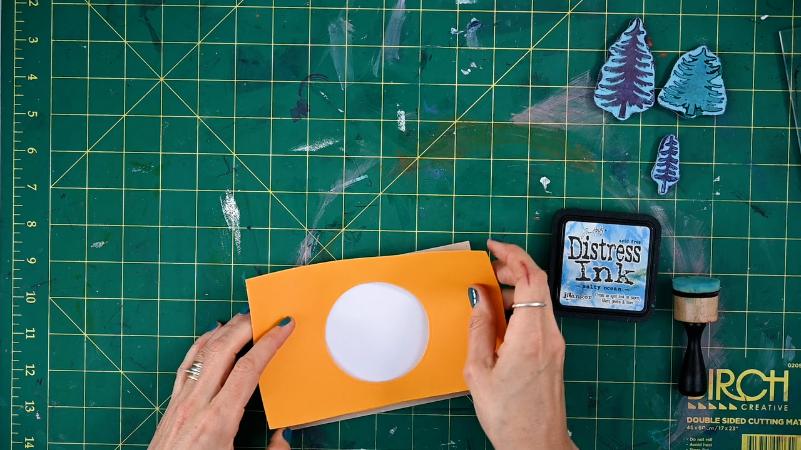
We're using the negative part of the cutout which will serve as a stencil.
Next, adhere a white paper on your card stock. Place the stencil on top of it.
Step 3
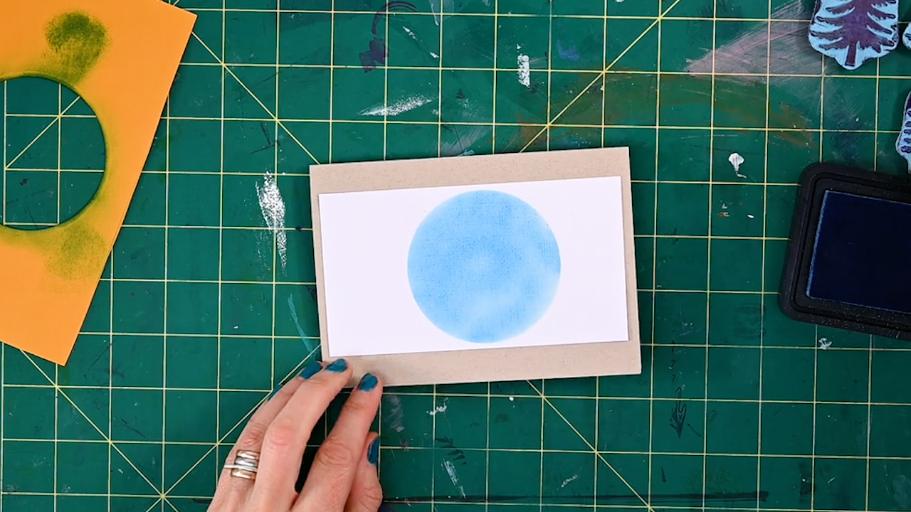
Ink your circle using the Distress Ink. I used the Salty Ocean color.
However, I find it too dark, so what I did was start stamping from the outside and carefully made my way to the middle.
This way the color will be muted as we go towards the center. Just slowly build up color and try to make it as smooth as possible.
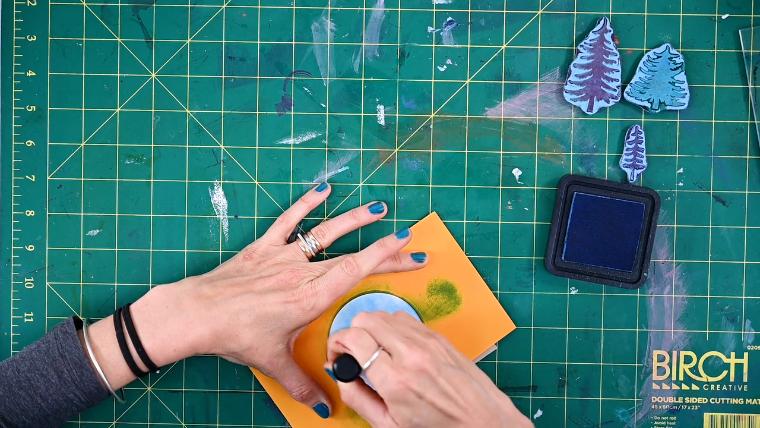
There we go! We now have a smooth shaded color circle.
Step 4
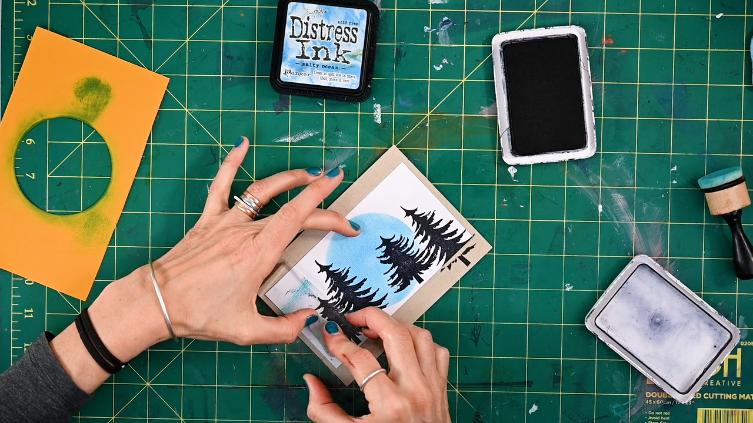
Get your choice of stamps and ink them up with your black archival ink.
I used my tree stamps as they would make a lovely silhouette pine tree scene together with the circular design which resembles the moon.
Step 5
If there are any gaps in your stamped image, just use a marker to fill it in.
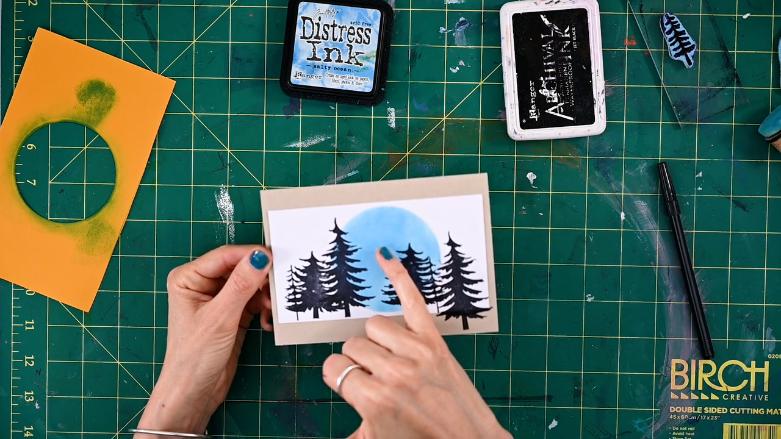
You can then add a sentiment of your choice in the middle. I suggest using a black color for it as well, to keep the shadow theme consistent in the card.
You can out our blog post and learn how to create stunning cards using old books!
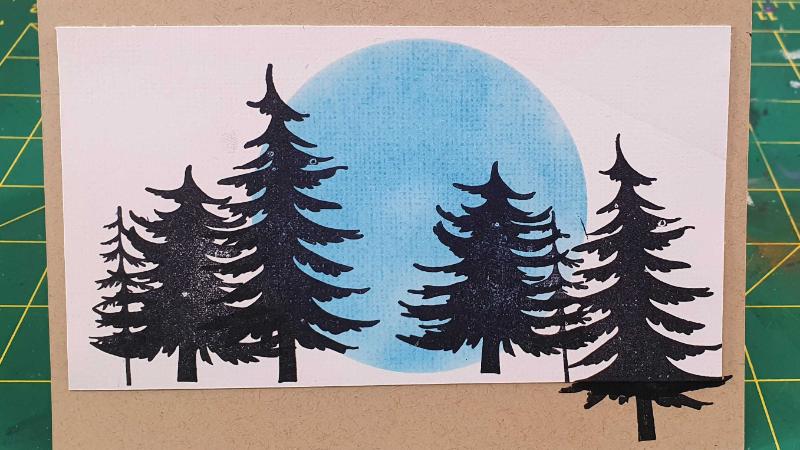
Don't you love the silhouette scene that the stamps created? They look so brilliant! It's like a lovely blue moon scene in the woods!
I hope you enjoyed this wonderful card making tip! Stay tuned for more upcoming inspiring and creative tips!

